Swept setup guide: your prices, your ZIP codes, your domain
NS. Studio · 2026-10-27
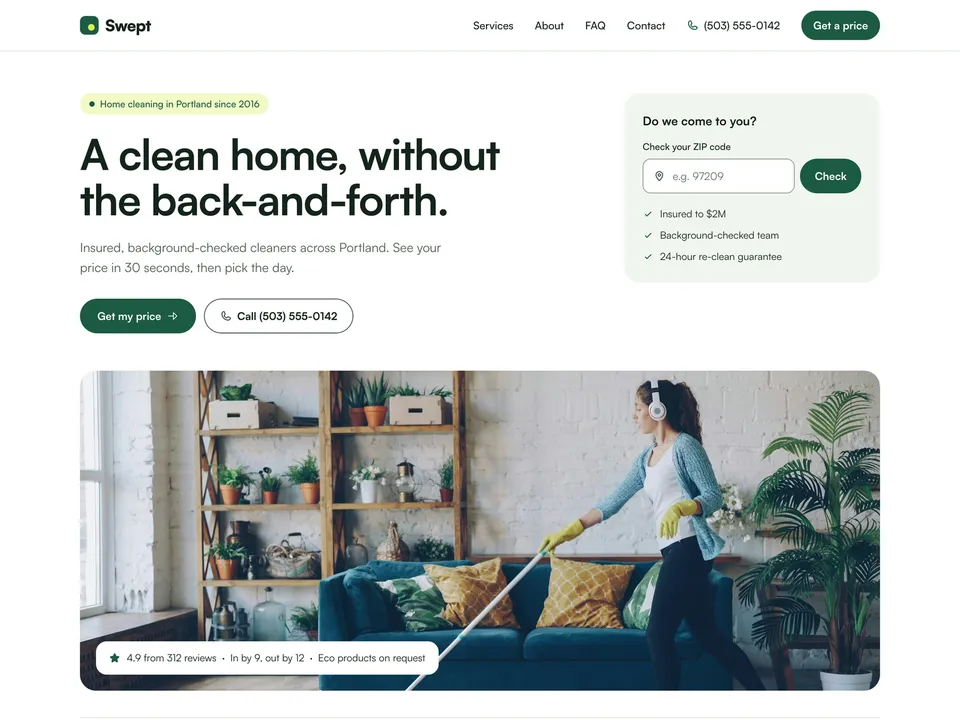
Swept is a free Framer template for a home cleaning company. This guide covers everything you change after you remix it, in the order that makes sense: content first, then prices and areas, then the form and the domain. Open the live demo in another tab to see what each part looks like.
1. Edit the CMS
Open the CMS from the left panel in Framer. Swept has four collections. Edit the sample items or delete them and add your own; every page that lists them updates by itself.
- Services (6 items): title, summary, starting price, duration, "best for", image, what's included and not included. Each service also has a Quote Key:
standard,deepormoveoutopens the price estimator on that clean type, andnoneshows "priced after a walk-through" for services you quote by hand (Airbnb turnovers, post-renovation, offices). - Testimonials (8 items): name, neighbourhood, service, rating and quote. The site shows 6 of them; replace the made-up reviews with real ones before you go live.
- Team (6 items): name, role, "since" year, photo and a short bio.
- FAQ (9 items): question, answer, category and a Show On Home toggle for the four that appear on the home page.
The "From" prices on the Services items are plain text. When you change your rates in the next step, update them so they match what the estimator shows for the smallest home.
2. Set your prices in Swept Quote
Swept Quote is the price estimator. It sits in three places: the Price section on Home, the service detail page, and inside the form on Contact. Select an instance and its settings appear in the right panel:
- Base Visit, Per Bedroom and Per Bathroom: the building blocks of a standard clean.
- Deep Factor (%) and Move-out Factor (%): how much more those cleans cost than a standard one (150 means one and a half times).
- Monthly Off, Biweekly Off and Weekly Off (%): discounts for recurring standard cleans.
- Pets Fee and Minimum Visit: set Minimum Visit to 0 if you don't have one.
- First Visit Deep: prices the first recurring visit as a deep clean.
- Add-ons: each extra has a name, price, minutes and an "Included in move-out" switch.
- Currency Symbol, Button Text and the colours.
Use the same rates on all three instances, or the estimate on Home won't match the one that arrives with the booking. The quickest way is to set one, then copy the values across.
The travel fee
Swept Quote also has Covered Areas, Extended Areas and Travel Fee. When a visitor's ZIP code is in the extended list, the travel fee is added to their estimate. Keep these the same as in Swept Area (next step). Set Travel Fee to 0 if you don't charge one.
3. List your ZIP codes in Swept Area
Swept Area answers "do you come to my area?". It appears in the Home hero, in the "Where we clean" section on Home and on Contact. Select each one and edit:
- Covered Areas: one area per line, the code then the name, for example
97209 Pearl District. A star matches every code that starts the same way:970*covers 97000 to 97099. - Extended Areas: the same format, for places you go to for a travel fee.
- Travel Fee: the fee shown for extended areas. 0 hides it.
- City, the three result messages (they can use
{area},{code}and{fee}) and the button texts.
The checker only matches the codes you type in. There is no map or address lookup. Also update the plain-text neighbourhood list in the "Where we clean" section on Home, which is regular text.
4. Decide where form submissions go
The Contact page uses Framer's built-in form. Swept Quote sits inside it, so every request arrives with two extra fields: Estimate (a one-line summary such as "Deep clean · 3 bed / 2 bath · One-time · Extras: none · Pets · Est. $323 per visit · ZIP 97209") and ZIP.
Select the form on the Contact page and choose where submissions are sent in the right panel. Framer can keep them in the project, notify you by email, or pass them to a connected tool. Send yourself a test request after you publish to check it arrives. How many submissions you can receive depends on your Framer plan.
Swept doesn't take bookings or payments. The form sends a request and you confirm the day yourself.
5. Connect your own domain
You can publish Swept for free on a framer.website address. To use your own domain, such as yourcleaning.com, upgrade the project to a Framer site plan, open Site Settings, then Domains, add the domain and copy the DNS records Framer shows into your domain registrar. Framer's help article How to connect a custom domain covers each registrar.
Before you share the link, change the site title, description and share image in Site Settings, and replace the phone number and email in the nav, footer and Contact page.
6. Optional: want online booking or advanced forms?
Swept works as it is. If you want visitors to pick a time slot themselves, or you need a longer form with file uploads or payments, these two tools embed in Framer:
- Cal.com for online booking. Create an event type in Cal.com (it has a free plan), open its embed options and copy the code. In Framer, add an Embed element where you want the calendar, for example under the form on Contact, and paste the code. Or link a button straight to your Cal.com booking page.
- Fillout for advanced forms. Build the form in Fillout (it has a free plan), copy its embed code, add an Embed element in Framer and paste it.
One thing to know: the estimate only travels into Framer's built-in form. If you swap that form for an embedded one, the Estimate field goes with it, so most people keep the Swept form for quotes and add the calendar as the next step.
Some links on this page are affiliate links. If you sign up, NS. Studio may earn a commission at no extra cost to you.
Need a hand?
If you'd rather not do this yourself, template setup starts at $79: your content, prices and areas filled in, and your domain connected.